Operation Overlord - Operation Neptune
D-day, 6 juni, early morning.
A platoon of the 101st. airborne, the Screaming Eagles, has landed just south of Vierville in the Normandy coast. Elements of a axis reconnaissance patrol has spotted the airborne that are assembling near some houses. This axis patrol is one of the first to encounter american troops as a part of the mobilizing to fend of the allied invaders.
A platoon of the 101st. airborne, the Screaming Eagles, has landed just south of Vierville in the Normandy coast. Elements of a axis reconnaissance patrol has spotted the airborne that are assembling near some houses. This axis patrol is one of the first to encounter american troops as a part of the mobilizing to fend of the allied invaders.
Points are 40 for the US Airborne, who has to set up 5 points of CasualtyWorth at each sector. The Wehrmacht reconnaissance forces has 35 points and moves first, without special rules.
 The paratroopers deploys as follows;
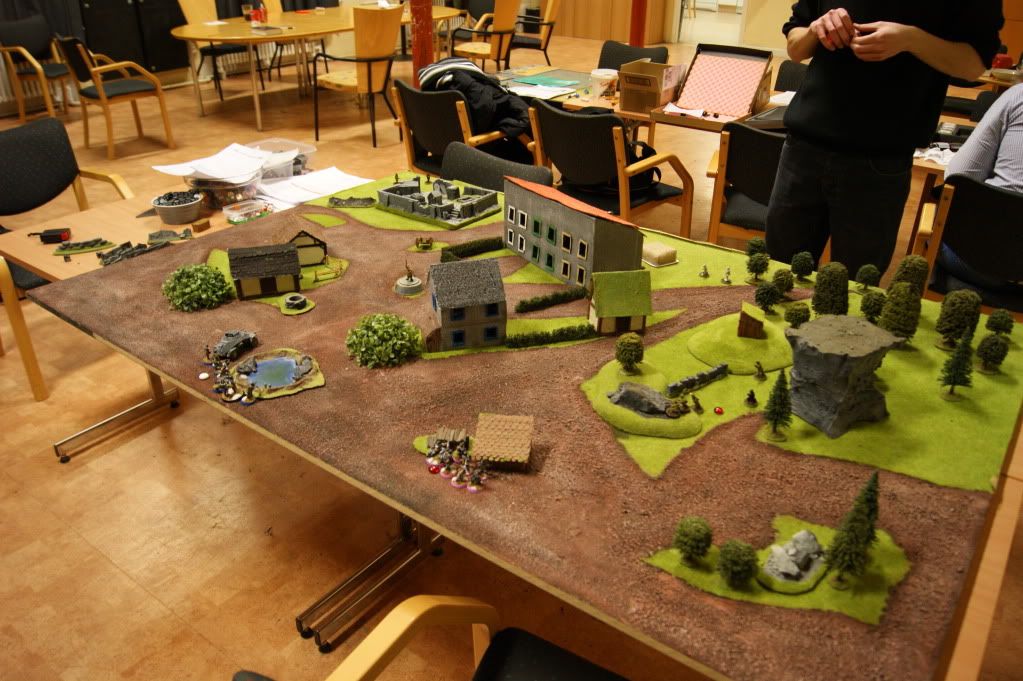
 Wehrmacht forces advance. The infantry on the left is in no position to fire so they use the covering from their MG to use 'Maneuvergroup, forward!'. As they pace quickly towards the enemy as Pink squad quickly get to cover. All MG:s were out of suppressionrange.
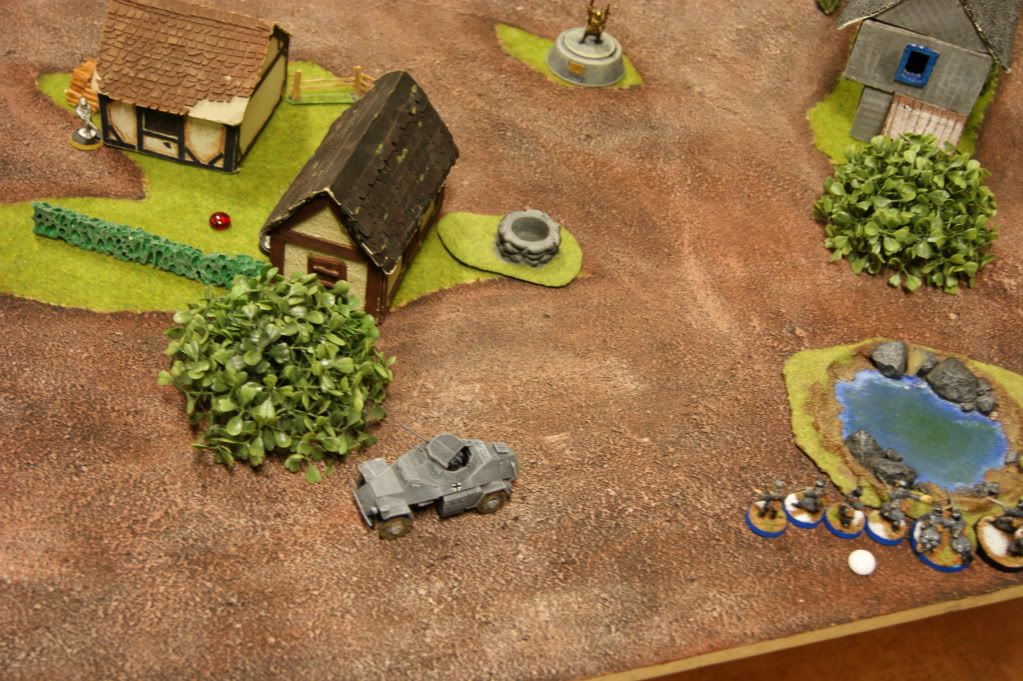
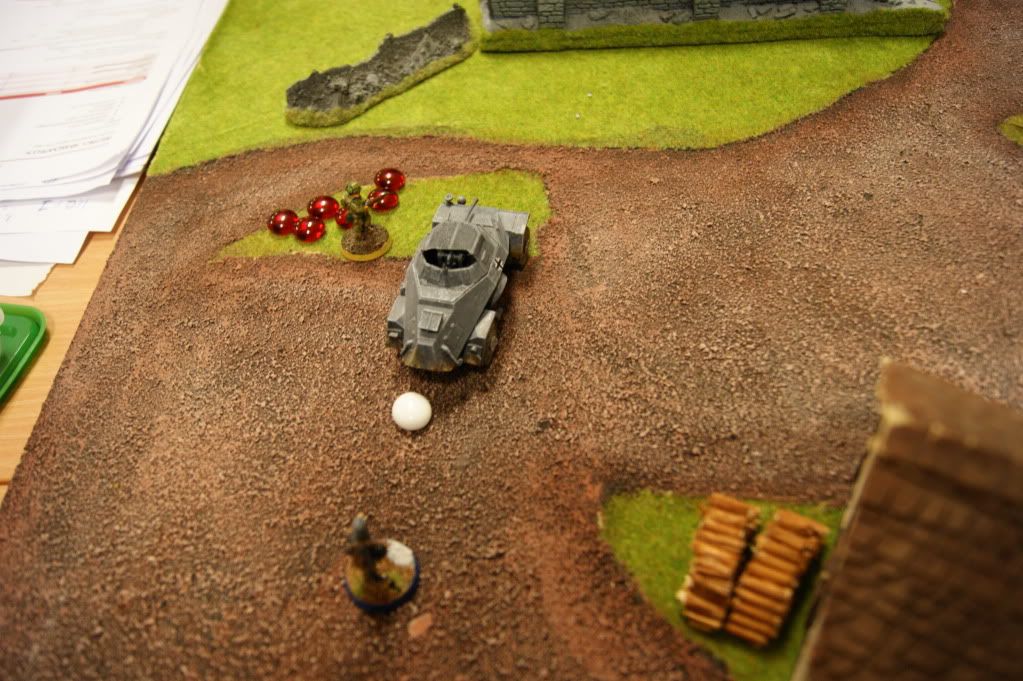
 Wehrmacht makes a daring and gambling move to knock out the bazookateam with the SdKfz 222, which succeeds! Otherwise the bazookateam would have made short work of the armored car. It leaves the last two riflemen at point A with some suppression to Yellow squad.
 As the paratroopers falling back, seeking cover, they manage to take out two members of Pink squad, including the ASL!
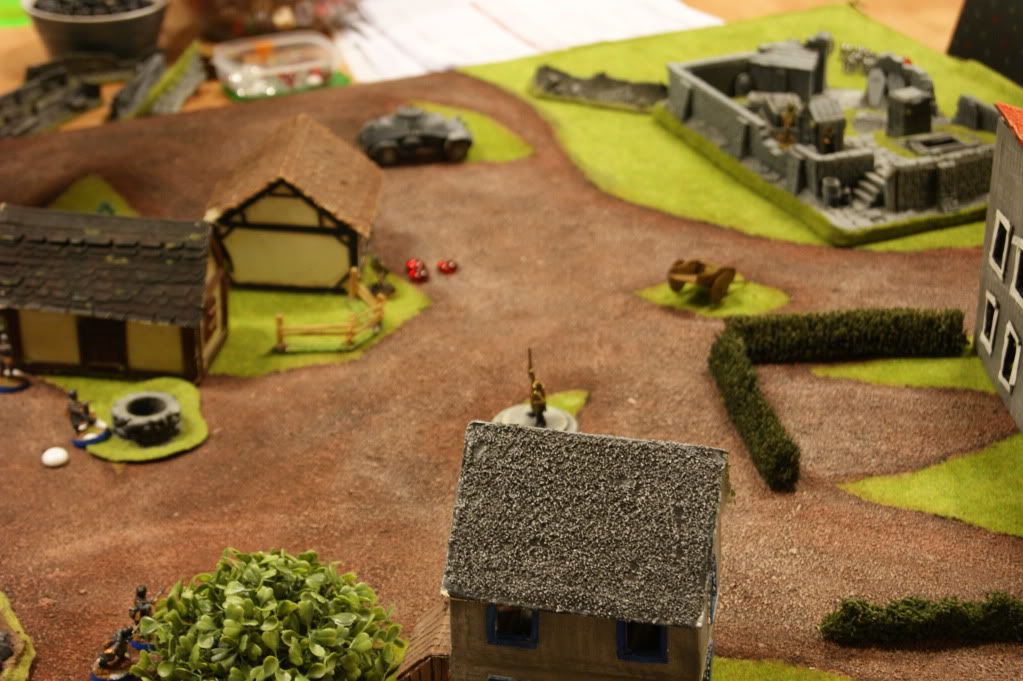
 MG-team gets into position to hammer the advancing troops of Blue squad.
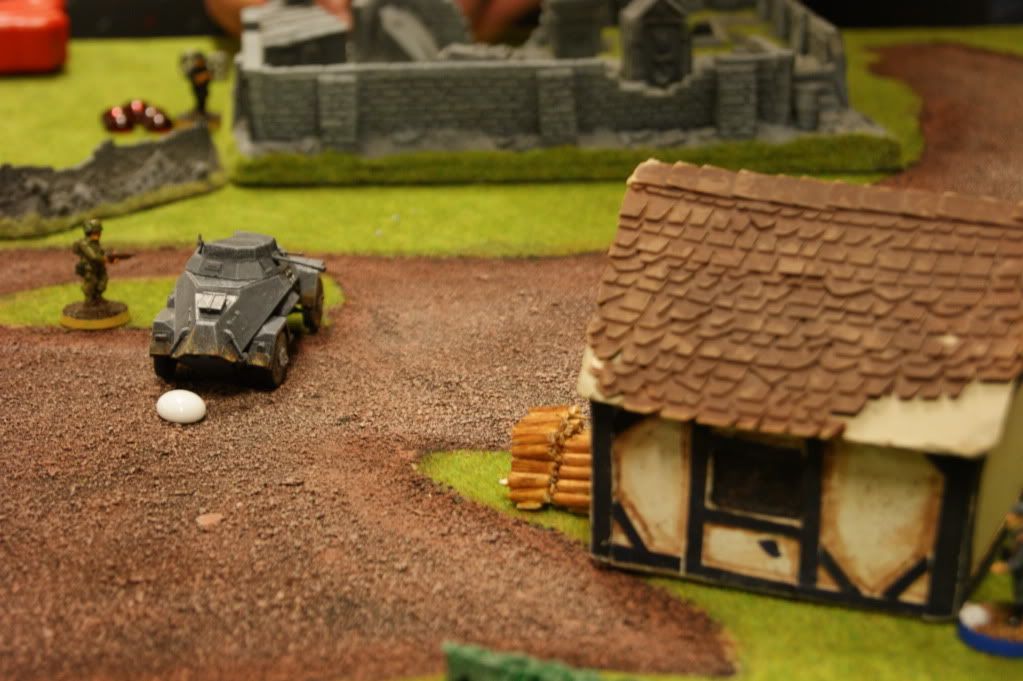
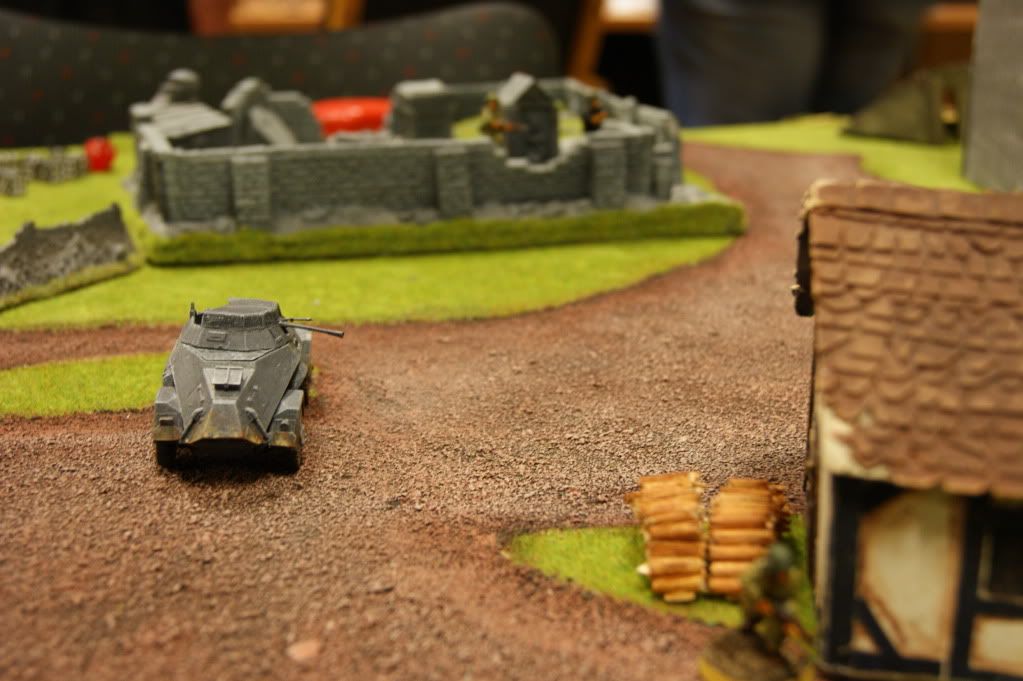 The unsupported SdKfz moves up.
 Blue squad stays in cover from the US MG-team ahead. With no cover to the right they stay put.
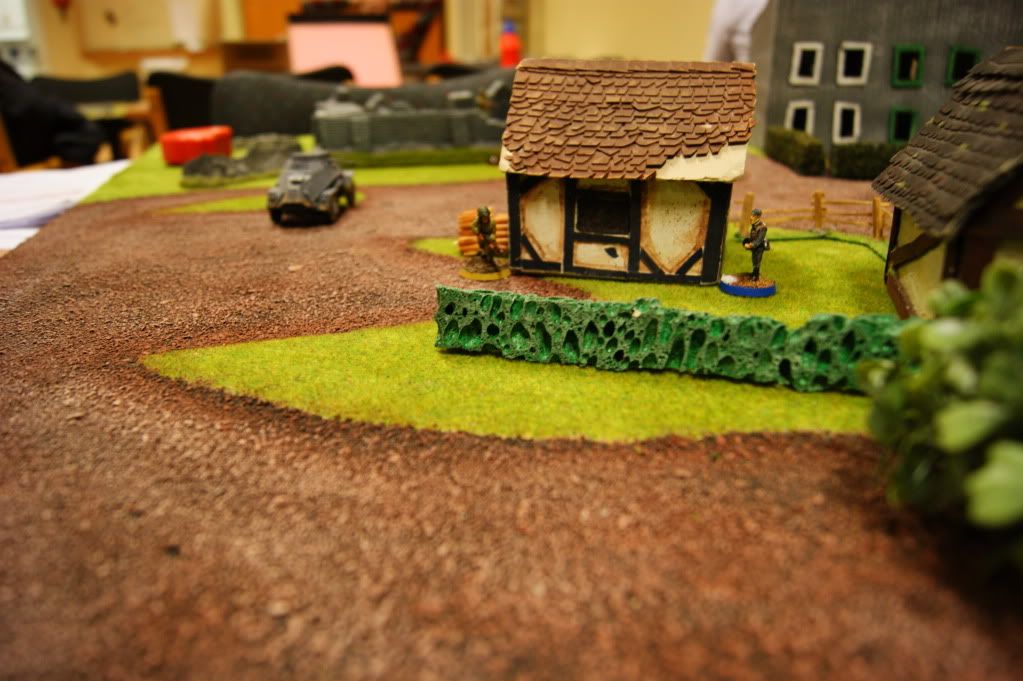 Blue squad (SL) moves up to support the SdKfz. He ends up in a deadly and close fight. He survives the incoming bullets by taking cover at the corner of the house and show the superiority of Mp40 over M1 Garands in such close quarters!
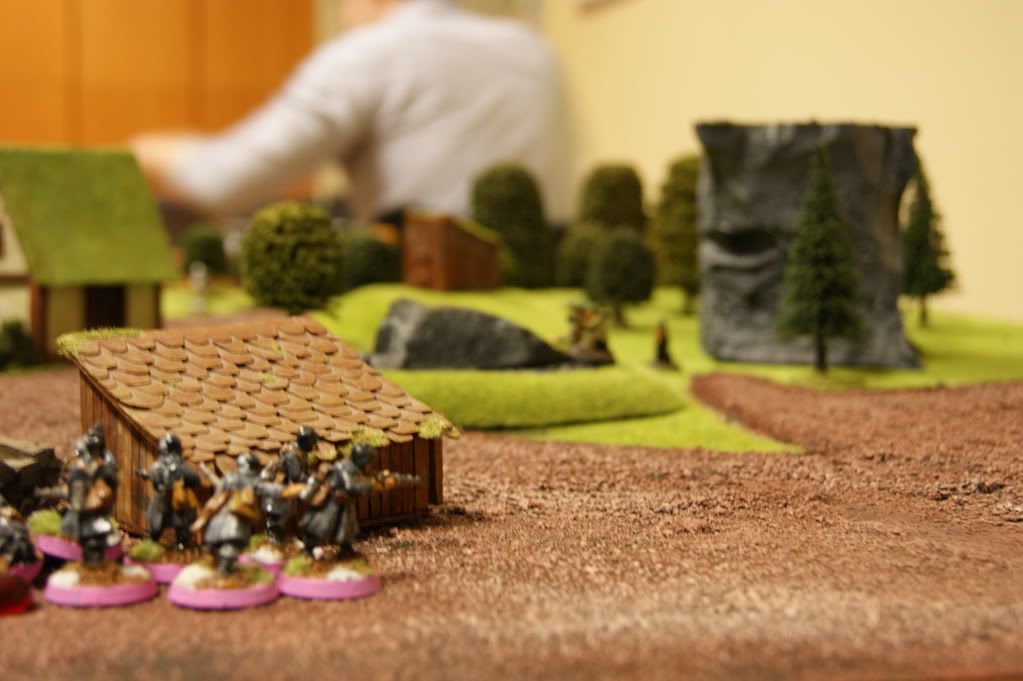
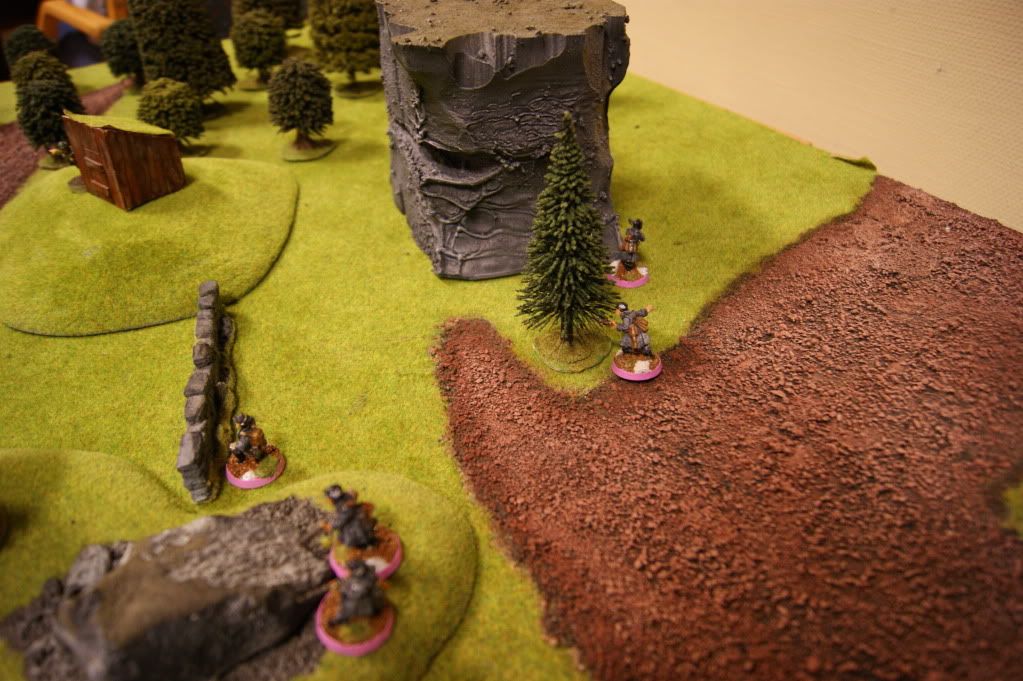
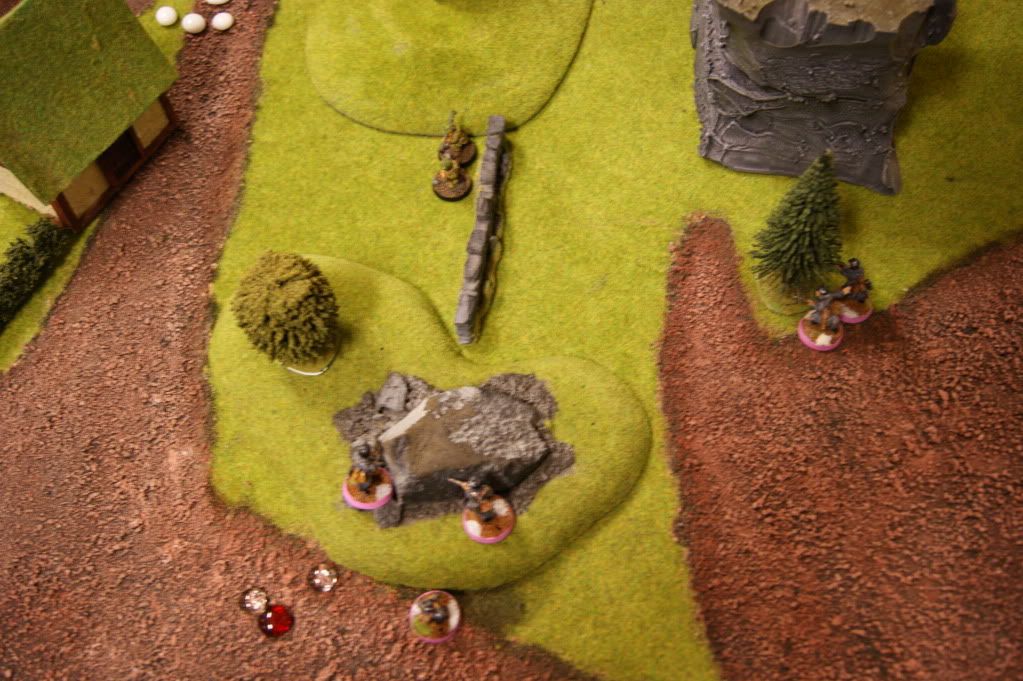 Pink squad is moving up while exchangeing fire with parts of Green group. Both sides takes suppression and take cover.
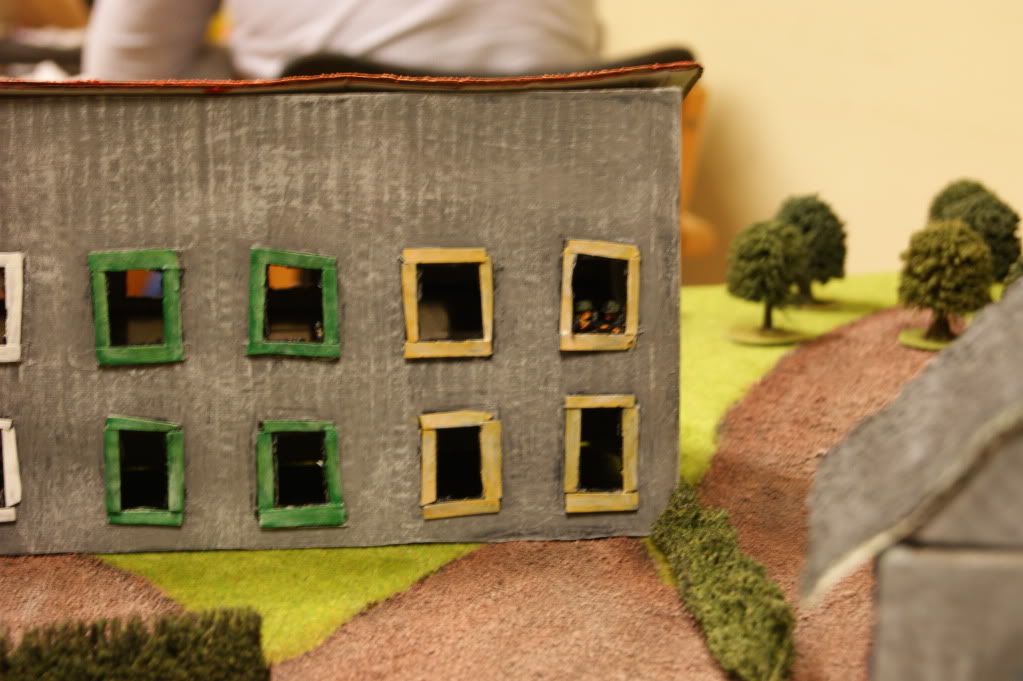
 Paratroopers of Green squad tries to encircle the Pink Squad to negate their cover. They get further assistens of troops at point C, middle house, who takes fireingposition towards the same enemy.
 The SL of Blue squad tries to take the heroic paratrooper out but goes from hunter to hunted and is struck down. The SdKfz 222 hits the SL of Yellow squad near the cementery, leaving only the heroic riflemen.
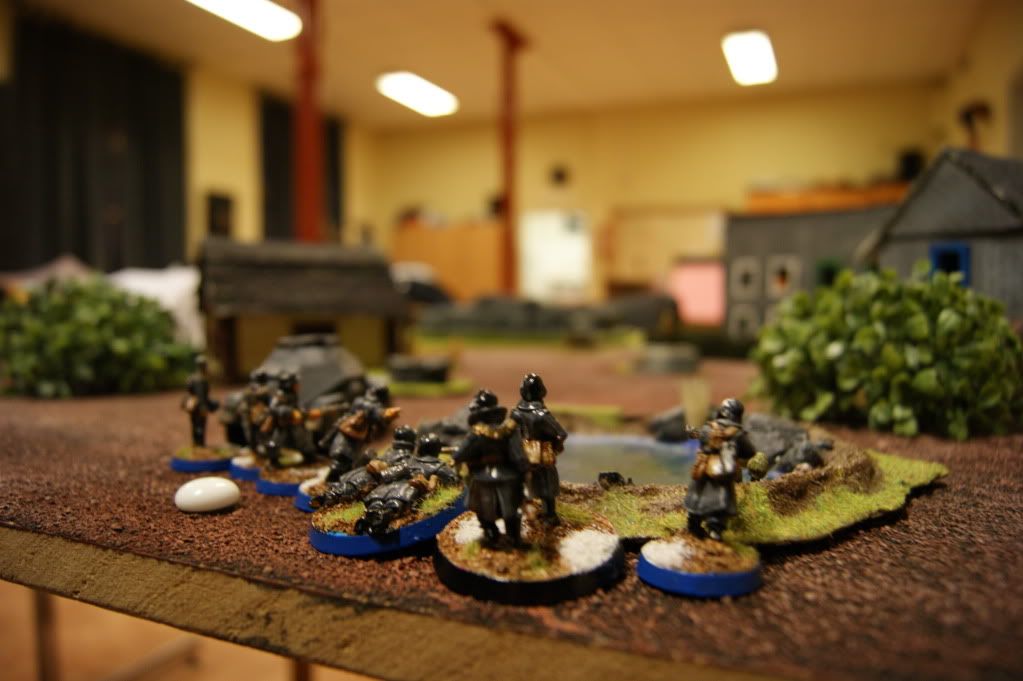
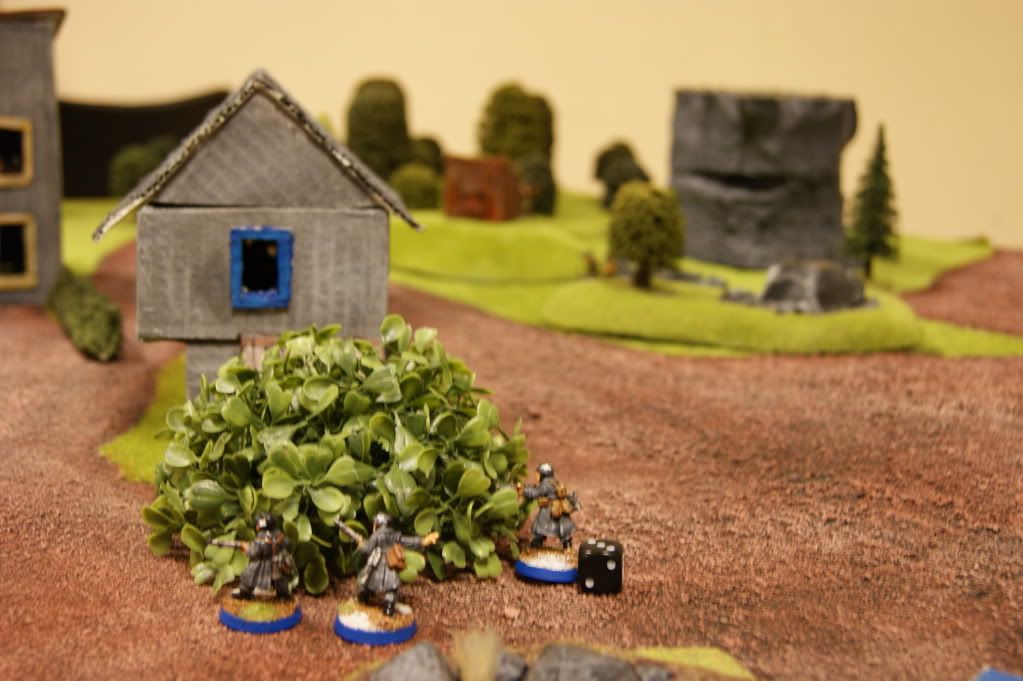
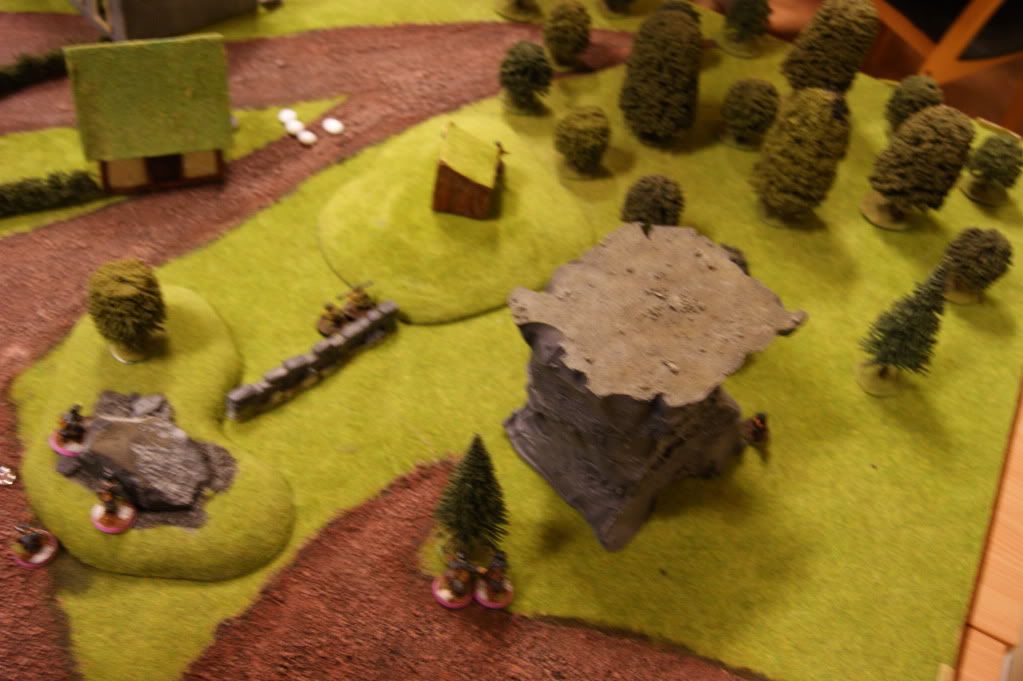
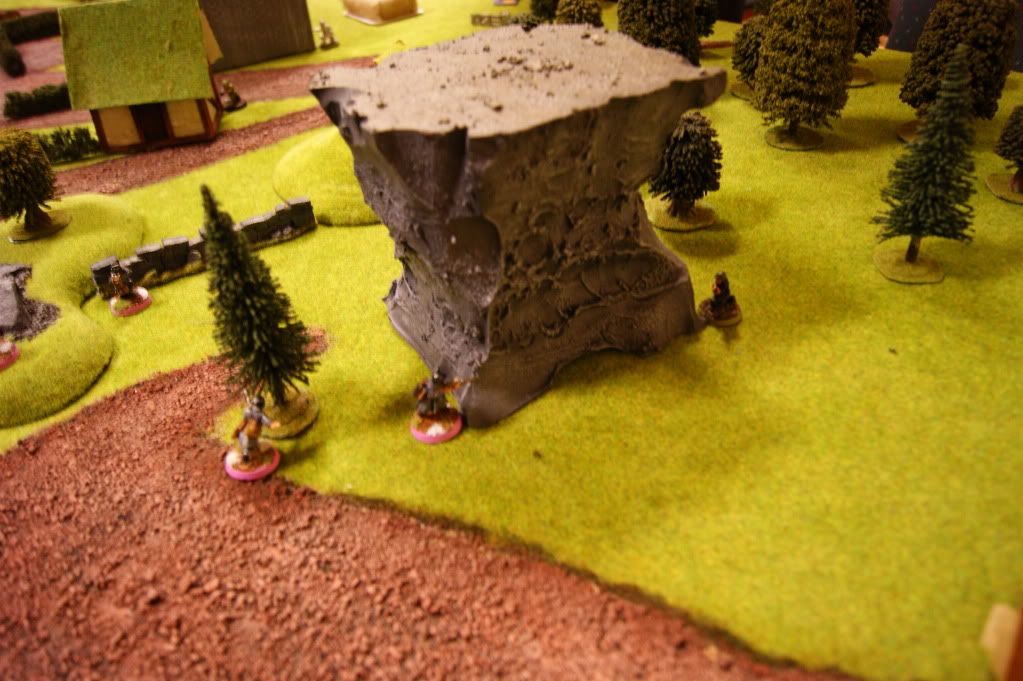 Pink squad displace in a effort to not get flanked and be able to return fire.
 This is unfortunably the last photo of the game.
-------------------------------------------------------------------------------------------

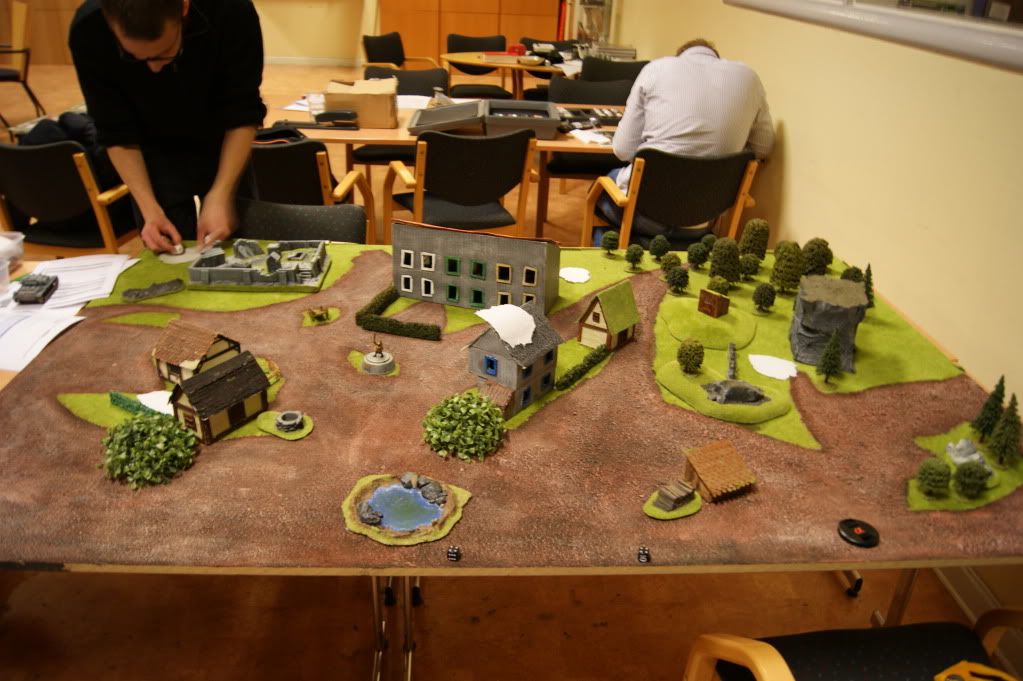
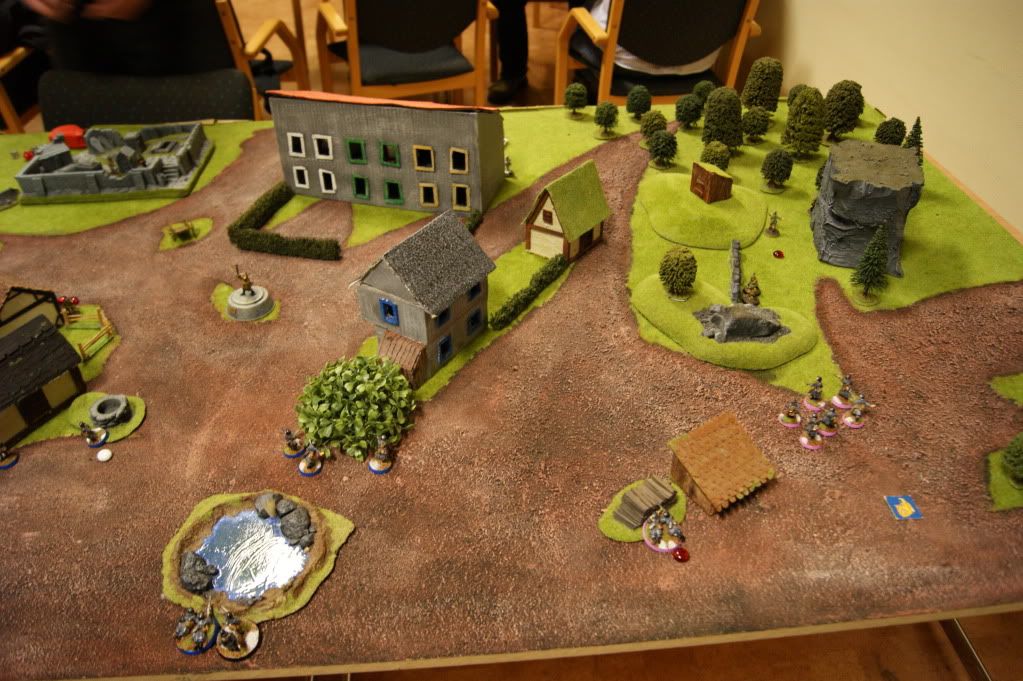
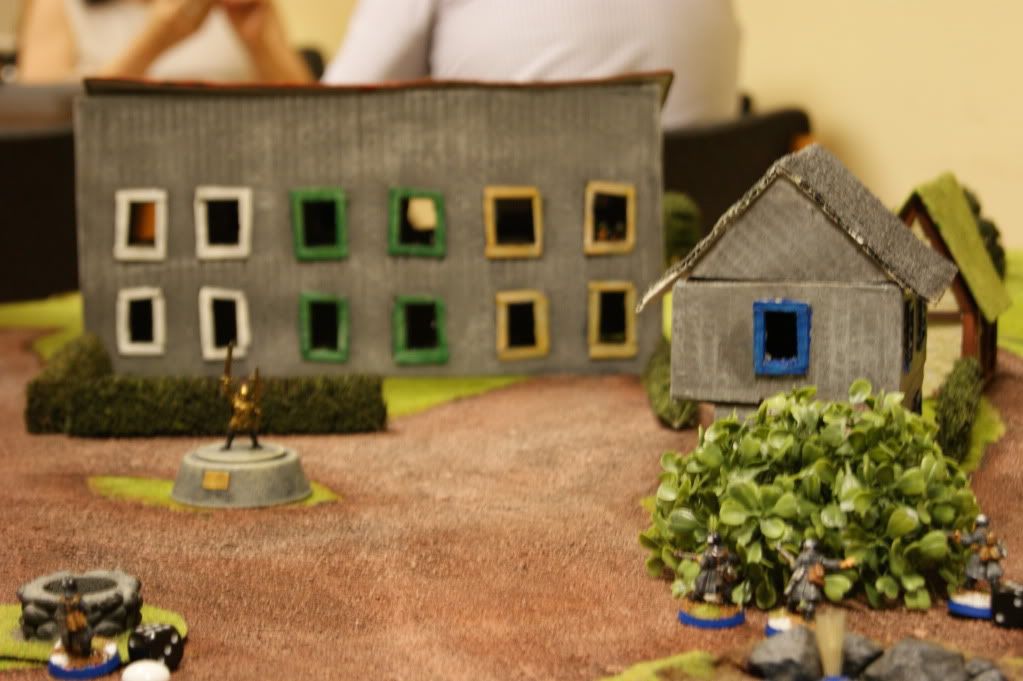
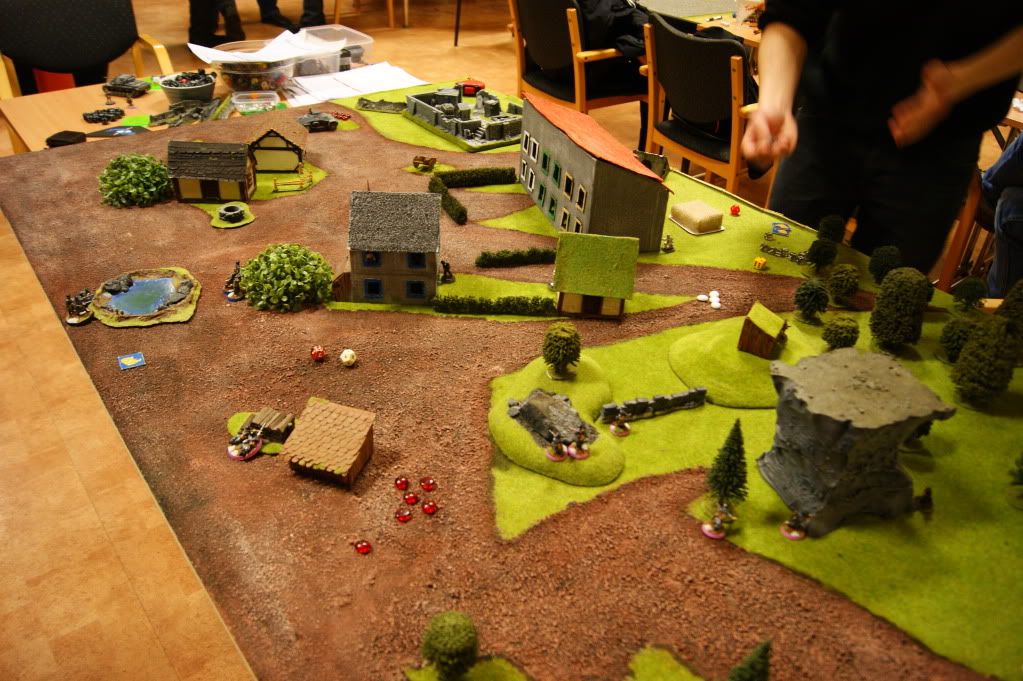
This is the playarea, with six white pieces of paper the shows the US deployment zone. The two black dices in the south indicates the area that the Wehrmacht enters.
Sectors are onwards called;
- Left side - A,
- Far left side - B,
- Center - C,
- Far center - D,
- Right Side - E.
 The paratroopers deploys as follows;
- A - Bazookateam and two riflemen, Yellow squad,
- B - SL (squad leader) and a rifleman, Yellow squad,
- C - ASL (assistent squad leader) and two riflemen, Green squad,
- D - MG-team and two riflemen, Green squad,
- E - Bazookateam, SL and two rifleman, Green squad.
The Wehrmacht reconnaissance consist of;
- One squad of grenadiers (SL, ASL, MG, five riflemen),
- One squad of grenadiers with extra MG (SL, ASL, two MG, three riflemen),
- SdKfz 222.
In Germany Falling all squads start with one suppression, which explains the markers at each squad. This isn't true for vehicles.

Pink squad moves towards the right side, while the US bazookateam later fires a shoot at the SdKfz, which misses, to later displace to avoid the advance of Pink squad.


Blue squad is to supress and pinn the enemy as the SdKfz move to attack the paratroopers on the left, thous facing only one of the two bazookateams.
US turn consist of moving back the right side bazookateam and getting into positions. The MG-team moves up in the yellow part of the building in the far center.
- End of turn 1 -
 Wehrmacht forces advance. The infantry on the left is in no position to fire so they use the covering from their MG to use 'Maneuvergroup, forward!'. As they pace quickly towards the enemy as Pink squad quickly get to cover. All MG:s were out of suppressionrange.
 Wehrmacht makes a daring and gambling move to knock out the bazookateam with the SdKfz 222, which succeeds! Otherwise the bazookateam would have made short work of the armored car. It leaves the last two riflemen at point A with some suppression to Yellow squad.
 As the paratroopers falling back, seeking cover, they manage to take out two members of Pink squad, including the ASL!
 MG-team gets into position to hammer the advancing troops of Blue squad.
 The unsupported SdKfz moves up.
 Blue squad stays in cover from the US MG-team ahead. With no cover to the right they stay put.
 Blue squad (SL) moves up to support the SdKfz. He ends up in a deadly and close fight. He survives the incoming bullets by taking cover at the corner of the house and show the superiority of Mp40 over M1 Garands in such close quarters!
Yellow squad makes a 'Hussle up!'-move and a heroic riflemen managed to destroy the wheels of the SdKfz, but it is still in this fight!
- End of turn 2 -
 Pink squad is moving up while exchangeing fire with parts of Green group. Both sides takes suppression and take cover.
 Paratroopers of Green squad tries to encircle the Pink Squad to negate their cover. They get further assistens of troops at point C, middle house, who takes fireingposition towards the same enemy.
 The SL of Blue squad tries to take the heroic paratrooper out but goes from hunter to hunted and is struck down. The SdKfz 222 hits the SL of Yellow squad near the cementery, leaving only the heroic riflemen.
MG:s from both sides stay in position and tries to supress. The MG:s of Blue group is still out of suppressing range.
- End of turn 3 -

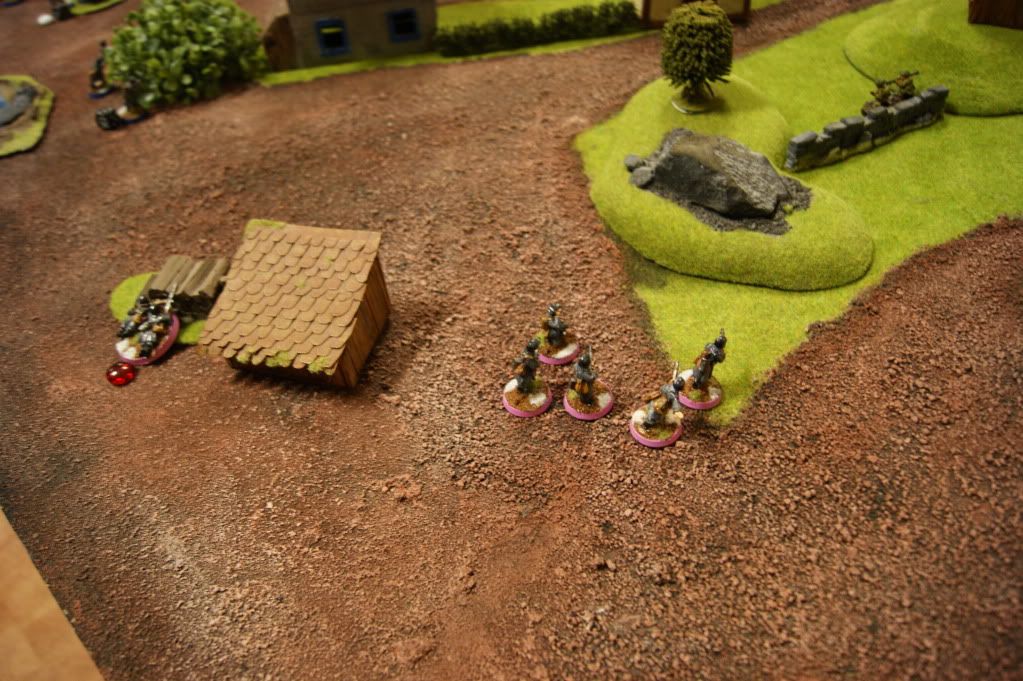
 Pink squad displace in a effort to not get flanked and be able to return fire.
 This is unfortunably the last photo of the game.
During the following turn parts of Blue squad advanced to get mowed down by the US MG and fire from the house in point C. The SdKfz 222 survived another attempt from the heroic riflemen, which he had to pay with his life for.
Later, on the right side, Pink squad displaced at the great rock to avoid getting pinned down. The paratroopers encircled them and killed them of with grenades and bullets. As the game ends when half of either sides platoon had been taking out of action, the game ended. The calculation of CasualtyWorth (CW) gave a draw, with 12 CW each. The US had suffered casualites of both NCO:s and heavy weapon while the Wehrmacht had lost more manpower in total. Since the vechicle only got light damages it is easy to repair which results in a worth of only 1 CW (while it killed for 7 CW)!
All in all, a good game! The Wehrmacht made a good, but undoubtly a risky, move in taking out the left bazookateam. Altough the lack of suppression from the two MG:s in Blue squad was missed. The US placed troops a bit to aggressively, especially at the left side, not taking advantage of the 5 points advantage.
Until next time, shoot and scoop!